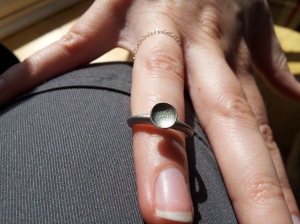
For the last year this has been the bane of my life!!
I pride myself on being able to do or work out how to do most things but getting good product photographs has to be one of the hardest skills I have yet tried to master. I certainly have not mastered it yet but at least can now get acceptable results.
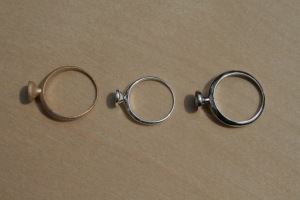
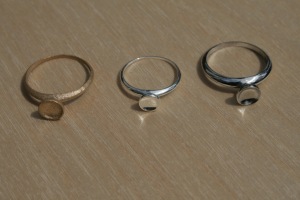
When I started doing jewellery I used a pair of Ikea desk lamps to light pieces and I generally just used by bench as a backdrop and had the items in their boxes. (see here) This was good enough for the purposes of documenting work and the black backdrop hid a multitude of sins. However if you try photographing an item on its own you need a lot more work to get a good result.
Traditionally silver would be photographed against a black velvet background but fashions have changed and colours and white backgrounds are the norm now. The problem is that if you screw up photographing black, you get a (to quote Father Ted) very very very very very very very very dark blue, or some other dark colour, which to to most people looks black. There is no need to get black of the backdrop to be priests socks black, just lay peoples socks black. However, photograph a white backdrop incorrectly and you get a definitely tinted outcome. This problem is compounded buy the fact that websites often have pure white backgrounds so the contrast effect exasperates the situation and the tint is even more noticeable.
I tried white. I really did.But getting a white backdrop is actually quite hard. White paper, for example is often a bit yellow, white fabric shows every speck of fluff or hair it manages attractor and white perspex is very easy to scratch and shows fingerprints. So what to use?
Well going back to my bench photography days, wood is a good backdrop. the problem is it either needs to be shiny and new or old and battered.
You can see here how a small mark really shows up on this Ikea chopping board. Unfortunately the life scars on this piece of wood were to few and far between to be any use. All I got were pictures with dirty marks in them. Further more the scale of the grain is too big.
Here I used the wooden floor in mu house. Well battered, but again the grain is wrong, too small this time. (This is Ash wood should you be taking notes)
This one is against the raw ash veneered ply of a box easel, the grain is too detailed.
And here we have birch veneered ply. This is too light and it is very hard to get the colour right, the grain is a bit indistinct and a bit too detailed.
Finally I tried an off cut of redwood.
It has a good distinct and plain grain, it is quite yellow so any colour temperature adjustment doesn’t make it look fake and the know (the reason this bit of wood was cut off the end of a board) can provide some interest to the picture without being overwhelming. Further the graduation of grain lines means smaller things can be photographed on the left and larger things on the right.
It would appear that the perfect backdrop has a distinct texture that is about 1 order of magnitude below the size of the item and bit f colour to it.
With that in mind I went back to an old trick I had used a while ago, a cloth covered book.
Which I think works well.
Now for lighting!
Natural light is good. But 150 yeas of electrical illumination technology is more controllable. I tried with natural light outside but this was a bit of a disaster. The blue sky reflected in the silver and made everything look blue and cold. A cloudy day would be nice but getting enough light on a cloudy day I found a bit of a challenge and that kink of limits you to photographing during the day and only on days where the weather is right.
Solution: ebay!!! I ordered a light tent for all of abut £15 and with that and some flashes I got better results but still poor. So taking the old adage that you can never have too much light (hey they filmed nuclear bombs going off and you don’t get anything much brighter) I also bought for all of £100 a set of soft-box lights. So now my set-up looks like this:
The side soft boxes have four 45w lamps in and the top one has a 135w lamp, all 5500K colour temp.
2 old books, my bit of wood and a plastic pot with some steel shot in it as a weight to hang the pendants from. The book that is standing up is up against a small wooden stand. Brooches are attached with a small blob of blu-tak when required. Hopefully I can now get everything photographed now.
Go look at my shop now and buy stuff to help me justify all this stuff. http://www.peterblacksart.com.


